WDC Multiple Tables Tutorial
Important: Tableau Web Data Connector 2.0 (this version) is being deprecated at Tableau 2023.1 and eventually retired. We will still support WDC 2.0 until its last compatible version of Tableau (Tableau 2022.4) goes End of Life and is no longer supported.
For information about Tableau Web Data Connector 3.0, see the WDC 3.0 documentation.
This tutorial builds on the connector created in the basic tutorial. Ensure that you understand the concepts in the basic tutorial before you continue.
By the end of this tutorial, you will know how to store data in multiple tables and pass user input to your connector.
You’ll learn how to:
- Before you get started
- Create the user interface
- Store connection data
- Get Multiple Table Schemas
- Get data for each table
- See it in action
To see the source code for the completed connector, look for the earthquakeMultitable files in the Examples directory.
Before you get started
This tutorial builds on the USGS Earthquake feed connector created in the tutorial. Before you get started, you’ll need to make a copy of the connector that you can edit.
-
Copy the
earthquakeUSGSfiles from theExamplesdirectory and thejsdirectory to the top-level directory for the repository. (This is the same directory as the README.) -
Rename the files to
earthquakeMultitable.htmlandearthquakeMultitable.js. -
Edit the
earthquakeMultitable.htmlfile to point to the renamedearthquakeMultitable.jsfile:<script src="earthquakeMultitable.js" type="text/javascript"></script>
Create the user interface
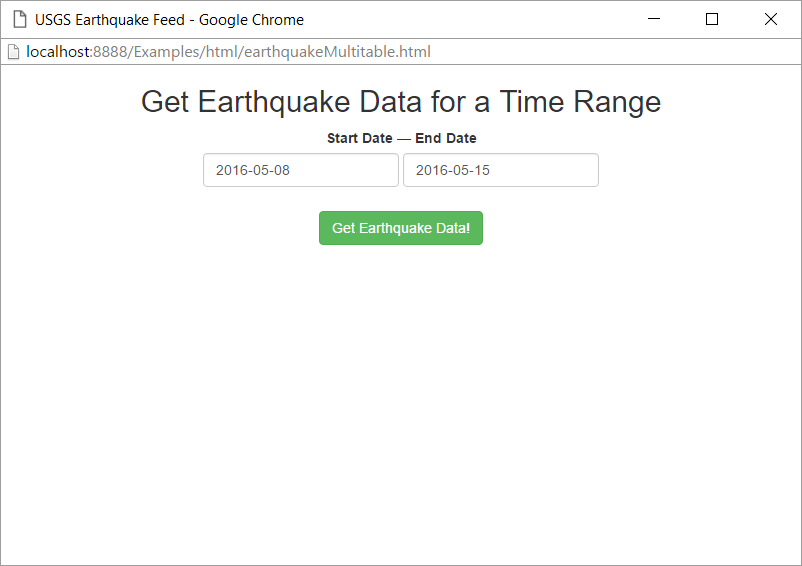
The existing connector interface doesn’t do very much–it’s just a button that you can click to run the connector. To illustrate how to pass user input data to your connector, let’s add a form so that you can specify the date range for which you want to get earthquake data.
Open the earthquakeMultitable.html file, and copy the following code immediately above the <button> element:
<h2>Get Earthquake Data for a Time Range</h2>
<form>
<div class="form-inline">
<label for="start-date-one" class="text-center">Start Date</label>
<span>—<span>
<label for="end-date-one">End Date</label>
</div>
<div class="form-inline">
<input type="text" class="form-control" id="start-date-one" value="2016-05-08">
<input type="text" class="form-control" id="end-date-one" value="2016-05-15">
</div>
</form>
This is a simple form with a label and text fields where you can enter date values. Additionally, there are some <div>
elements and classes on each element to use Bootstrap styling. If you load the page in a browser, the result looks like
this:
Store connection data
Now that you’ve updated the user interface, it’s time to consume the user input data in the JavaScript code. We’re going
to get the values from the input fields and store them in a tableau.connectionData variable for use later.
Open the earthquakeMultitable.js file, and replace the $(document).ready function with the following code :
$(document).ready(function() {
    $("#submitButton").click(function() {
        var dateObj = {
            startDate: $('#start-date-one').val().trim(),
            endDate: $('#end-date-one').val().trim(),
        };

        function isValidDate(dateStr) {
            var d = new Date(dateStr);
            return !isNaN(d.getDate());
        }

        if (isValidDate(dateObj.startDate) && isValidDate(dateObj.endDate)) {
            tableau.connectionData = JSON.stringify(dateObj);
            tableau.connectionName = "USGS Earthquake Feed";
            tableau.submit();
        } else {
            $('#errorMsg').html("Enter valid dates. For example, 2016-05-08.");
        }
    });
});
Some things to note about the code:
- As with the connector in the basic tutorial, the connector uses jquery to run code when the page loads and creates an event listener for the submit button.
- The values of the date input fields are stored in a date object. (The jquery
val()function gets the value of a field, and thetrim()function removes spaces.) - The
isValidDatefunction takes a string value and determines whether the string is a valid date. - The
ifstatement does some simple form validation using theisValidDatefunction.- If the dates are valid, the date object is converted to a string.
- If the dates are not valid, an error message is displayed in the
divwith theerrorMsgid.
The tableau.connectionData variable is the important piece here. It is created by the WDC so that you can pass data to
the getSchema and getData functions. It is important to note that the tableau.connectionData variable only accepts
string values.
Get Multiple Table Schemas
In this part of the tutorial, you modify the getSchema code to create two table schemas and pass them to the
schemaCallback in an array parameter.
Replace the myConnector.getSchema function with the following code:
myConnector.getSchema = function(schemaCallback) {
	// Schema for magnitude and place data
	var mag_place_cols = [{
		id: "id",
		dataType: tableau.dataTypeEnum.string
	}, {
		id: "mag",
		alias: "magnitude",
		dataType: tableau.dataTypeEnum.float
	}, {
		id: "title",
		alias: "title",
		dataType: tableau.dataTypeEnum.string
	}, {
		id: "lat",
		alias: "latitude",
		columnRole: "dimension",
		dataType: tableau.dataTypeEnum.float
	}, {
		id: "lon",
		alias: "longitude",
		columnRole: "dimension",
		dataType: tableau.dataTypeEnum.float
	}];

	var magPlaceTable = {
		id: "magPlace",
		alias: "Magnitude and Place Data",
		columns: mag_place_cols
	};

	// Schema for time and URL data
	var time_url_cols = [{
		id: "id",
		dataType: tableau.dataTypeEnum.string
	}, {
		id: "time",
		alias: "time",
		dataType: tableau.dataTypeEnum.date
	}, {
		id: "url",
		alias: "url",
		dataType: tableau.dataTypeEnum.string
	}];

	var timeUrlTable = {
		id: "timeUrl",
		alias: "Time and URL Data",
		columns: time_url_cols
	};
	schemaCallback([magPlaceTable, timeUrlTable]);
};
Here’s what’s happening in the code:
- The
mag_place_colsandtime_url_colsarrays contain objects for the columns in our tables. - The
magPlaceTableandtimeUrlTablevariables each define a table schema object. - The table schemas are passed to
schemaCallbackas objects in an array.
Get data for each table
When you create multiple table schemas, the WDC API calls the getData function once for each schema. As a result, you
need a way to change the call to the USGS Earthquake API for each table. The easiest way to do this is to use the
table.tableInfo.id value that we set in the table schemas.
Replace the myConnector.getData function with the following code:
myConnector.getData = function(table, doneCallback) {
	var dateObj = JSON.parse(tableau.connectionData),
		dateString = "starttime=" + dateObj.startDate + "&endtime=" + dateObj.endDate,
		apiCall = "http://earthquake.usgs.gov/fdsnws/event/1/query?format=geojson&" + dateString + "&minmagnitude=4.5";

	$.getJSON(apiCall, function(resp) {
		var feat = resp.features,
			tableData = [];

		var i = 0;

		if (table.tableInfo.id == "magPlace") {
			for (i = 0, len = feat.length; i < len; i++) {
				tableData.push({
					"id": feat[i].id,
					"mag": feat[i].properties.mag,
					"title": feat[i].properties.title,
					"lon": feat[i].geometry.coordinates[0],
					"lat": feat[i].geometry.coordinates[1]
				});
			}
		}

		if (table.tableInfo.id == "timeUrl") {
			for (i = 0, len = feat.length; i < len; i++) {
				tableData.push({
					"id": feat[i].id,
					"url": feat[i].properties.url,
					"time": new Date(feat[i].properties.time) // Convert to a date format from epoch time
				});
			}
		}

		table.appendRows(tableData);
		doneCallback();
	});
};
Let’s take a look at what’s going on here:
- The
JSON.parsefunction converts the string value that we stored in thetableau.connectionDatavariable back to an object. ThedateObjobject can then be used to access the data that we stored. - The
dateStringvariable inserts the start and end dates into a query parameter format expected by the API. - The
apiCallvariable is the URL for our API call. Note that this is a different URL than we used in the basic tutorial. For more information on the query parameters that you can use with this URL, see the Earthquake Catalog API Documentation. - We declare the
forloop iterator variableiat the top of the function to avoid declaring it twice. - We use the
table.tableInfo.idto determine which table schema we should use as we push data to thetableDataarray. Remember that the WDC API makes one call togetDatafor each table schema. - The
table.appendRowsfunction adds the array of table data to the table object.
See it in action
That’s it for the coding part of this tutorial. Time to test your connector in the simulator like you did in the Get Started section and the basic tutorial.
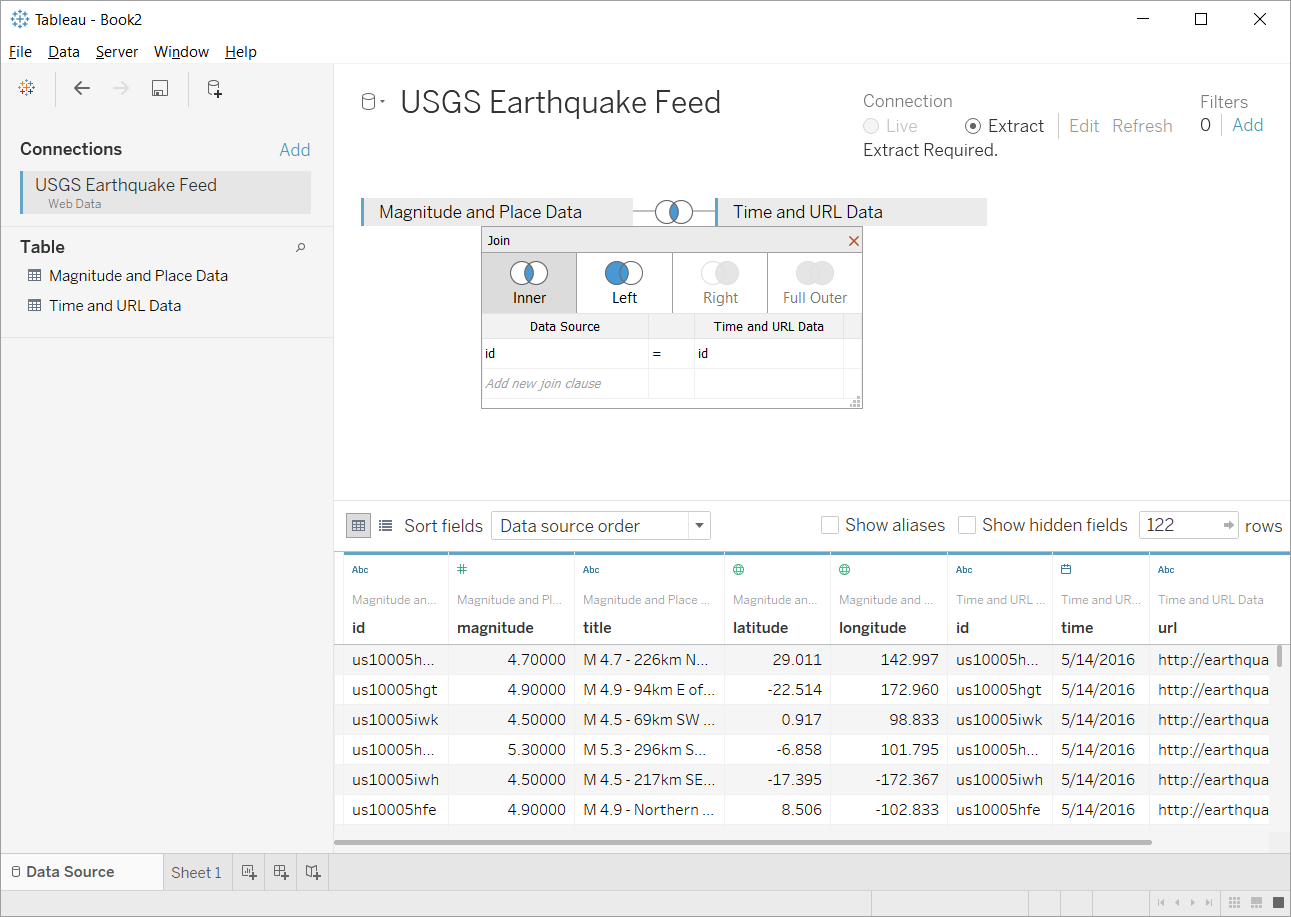
When you’re done, try to open your connector in
Tableau. Once you open your connector in Tableau,
you can drag the Magnitude and Place Data table and the Time and URL Data table to the pane where it says Drag
tables here. You can ensure that the tables are joined properly on the id field by clicking the overlapping circles
to display the join information.
Want to check your work? See the source code in the Examples directory.
Now you’re definitely ready to make your own connector!
You might also want to learn about incremental refresh and authentication. See the WDC Node.js Proxy with OAuth Tutorial.