tableau-app-msft-teams
How to use the App
This document describes how to use the Tableau app within Microsoft Office
The Tableau app for Microsoft Office is available as an Office add-in for Microsoft Word and Microsoft PowerPoint. The add-in allows you to search for and embed Tableau views (dashboards) and Pulse metrics directly into your documents and presentations. Once embedded, the views and metrics are rendered as images that can be resized and positioned like any other image in Office. We also provide an easy way to refresh those images, with the latest from Tableau.
Microsoft PowerPoint
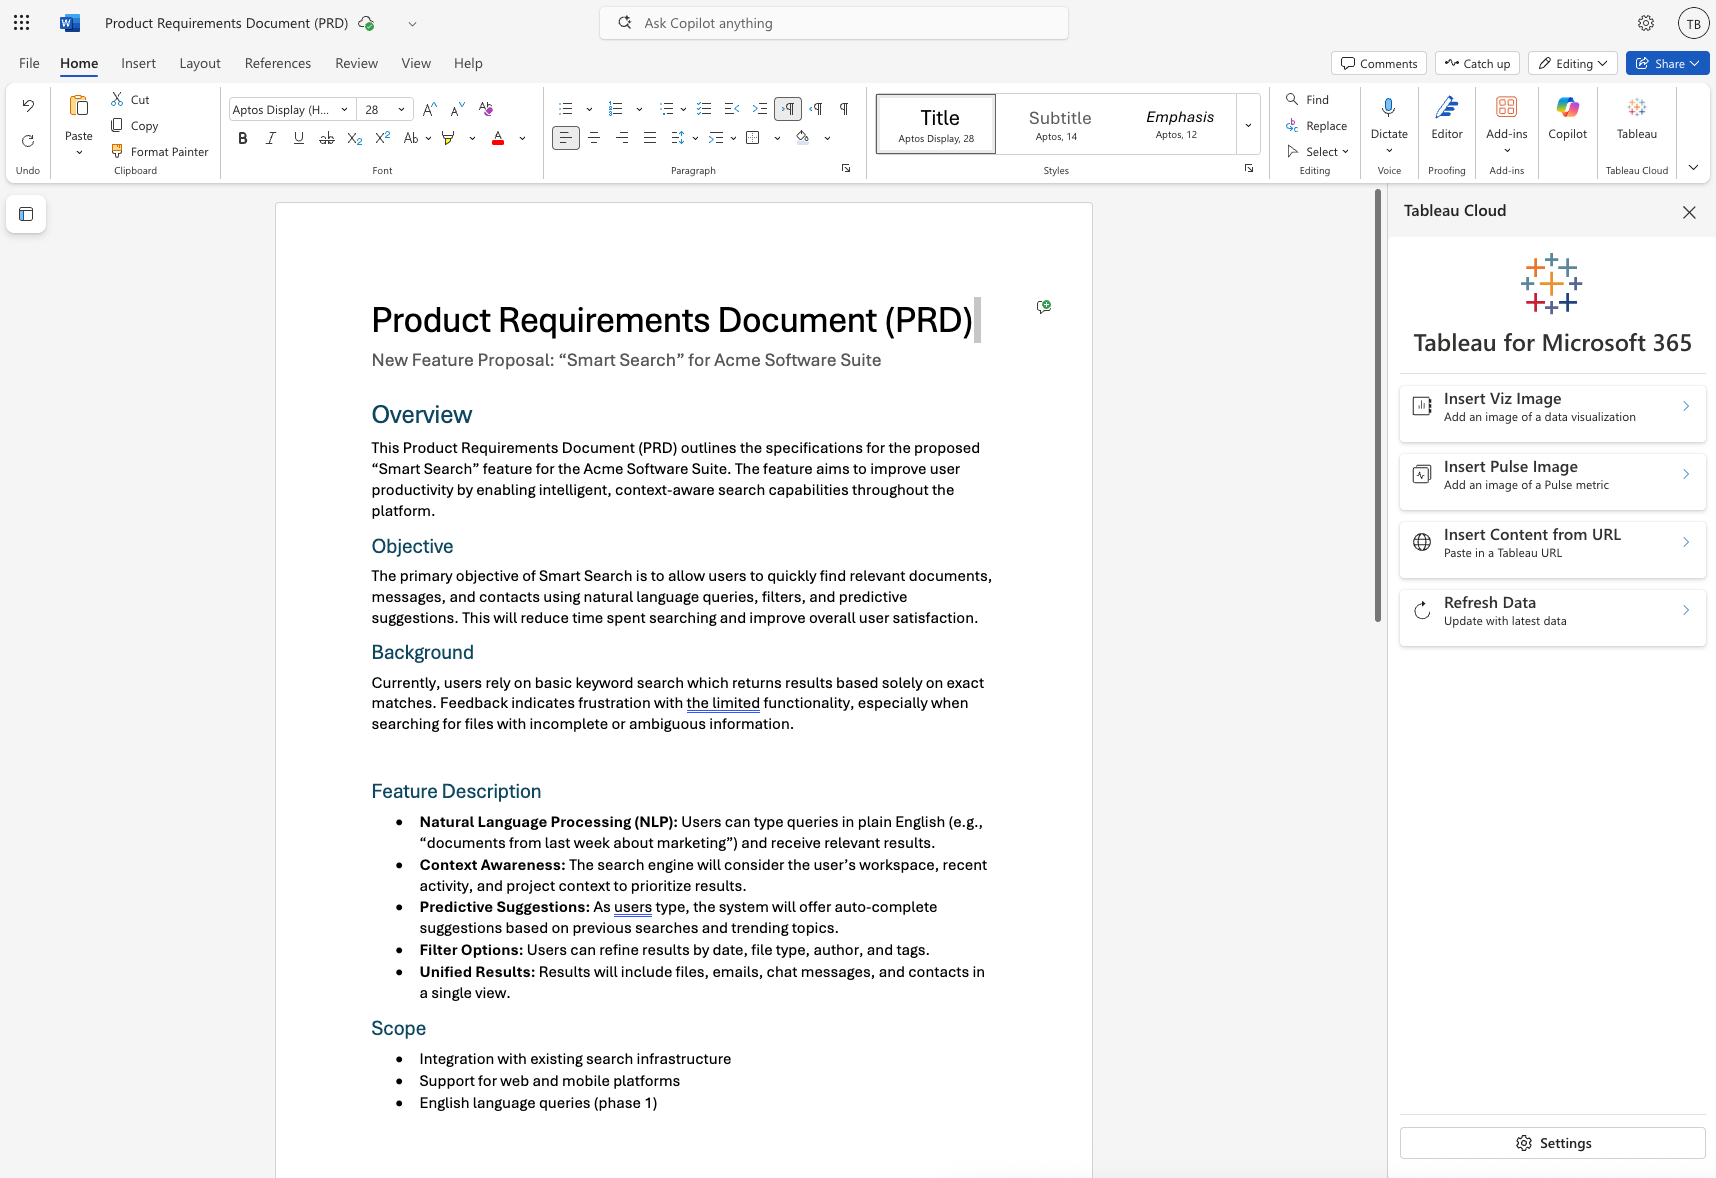
To use the Tableau add-in in PowerPoint, first open a presentation. The Tableau button will appear at the right side of the Office ribbon (top right). Click on the Tableau button to open the add-in task pane on the right side of the screen. The task pane will provide a way to find and insert Tableau content into your presentation

Microsoft Word
To use the Tableau add-in in Word, first open a document. The Tableau button will appear at the right side of the Office ribbon (top right). Click on the Tableau button to open the add-in task pane on the right side of the screen. The task pane will provide a way to find and insert Tableau content into your document.
Usage Guide
Insert Viz Image
Clicking the Insert Viz Image button will allow you to search for Tableau views by typing keywords in the search box. The search will return matching views from your Tableau site, displaying them as cards with preview images and titles. If you have any views marked as Favorites, those will be listed just below the search bar.
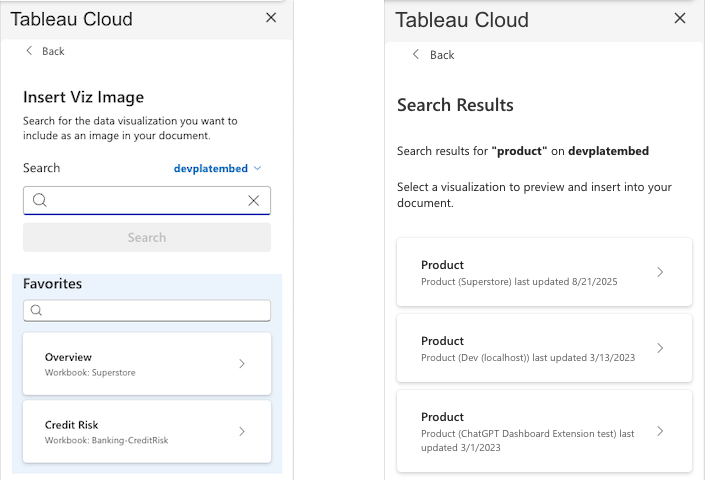
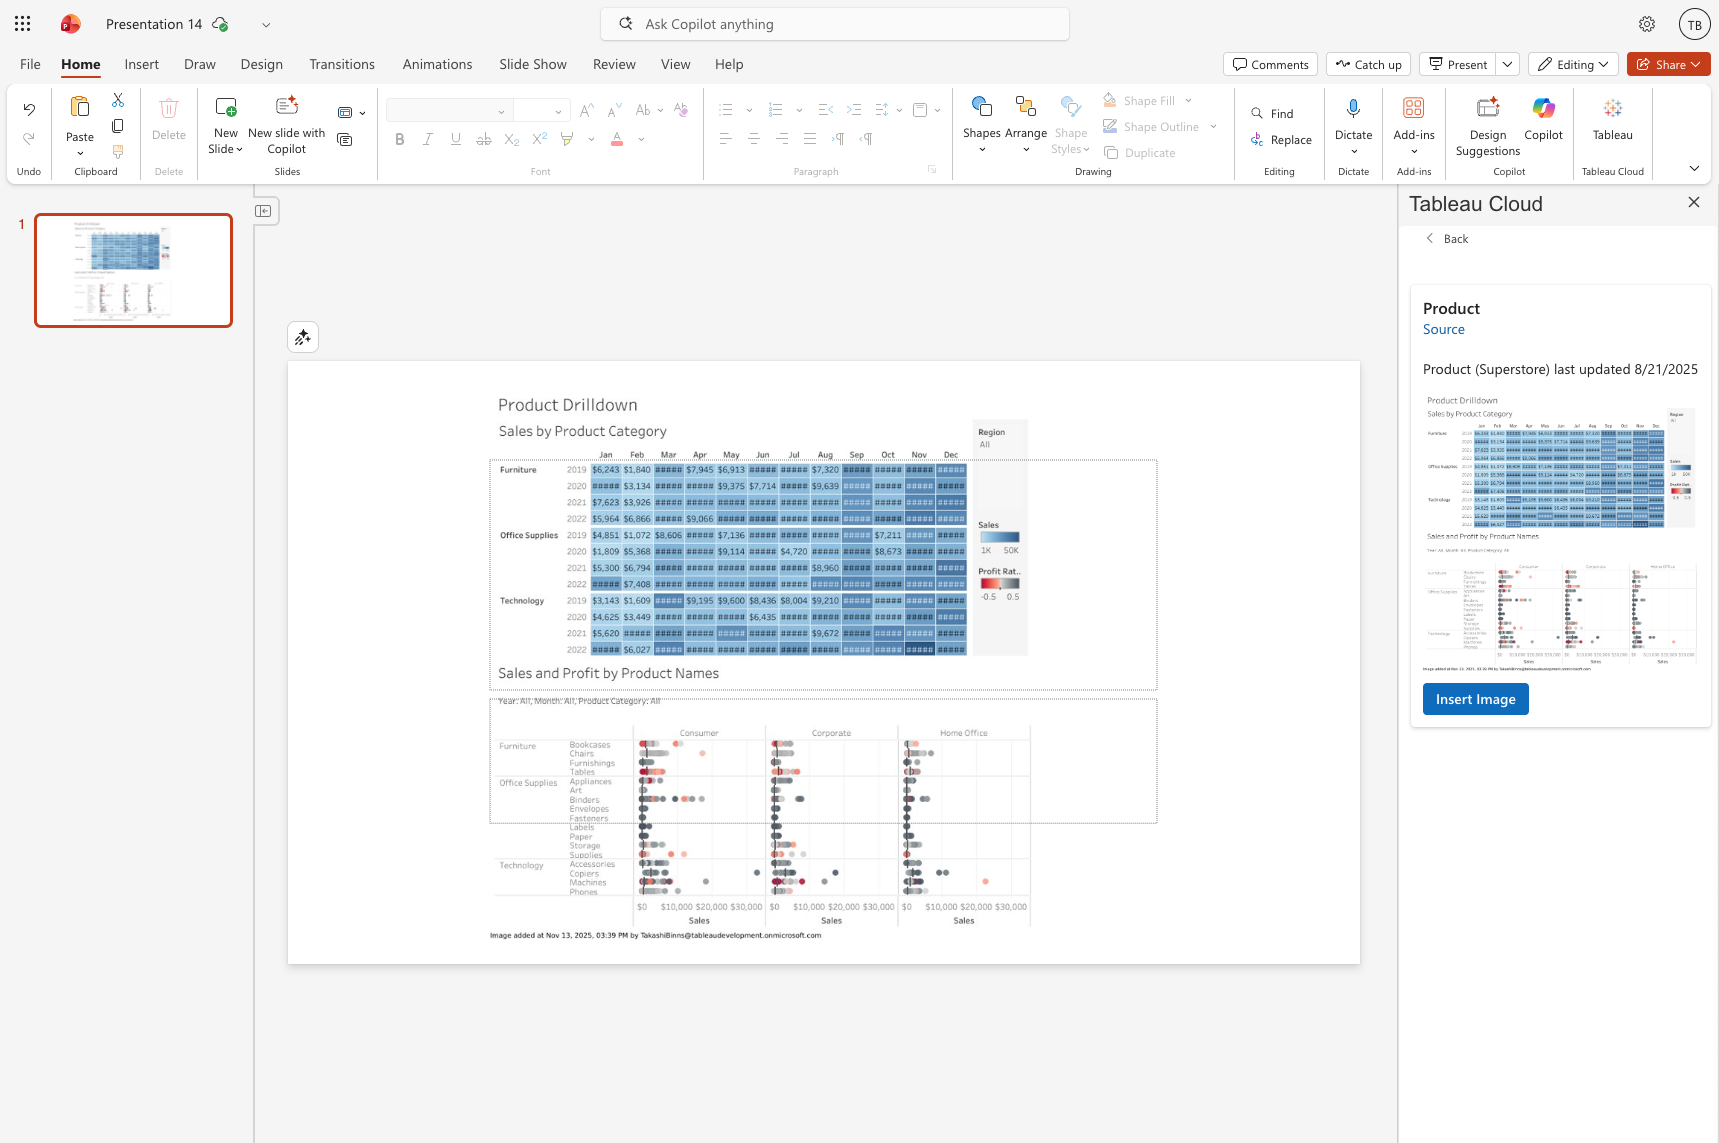
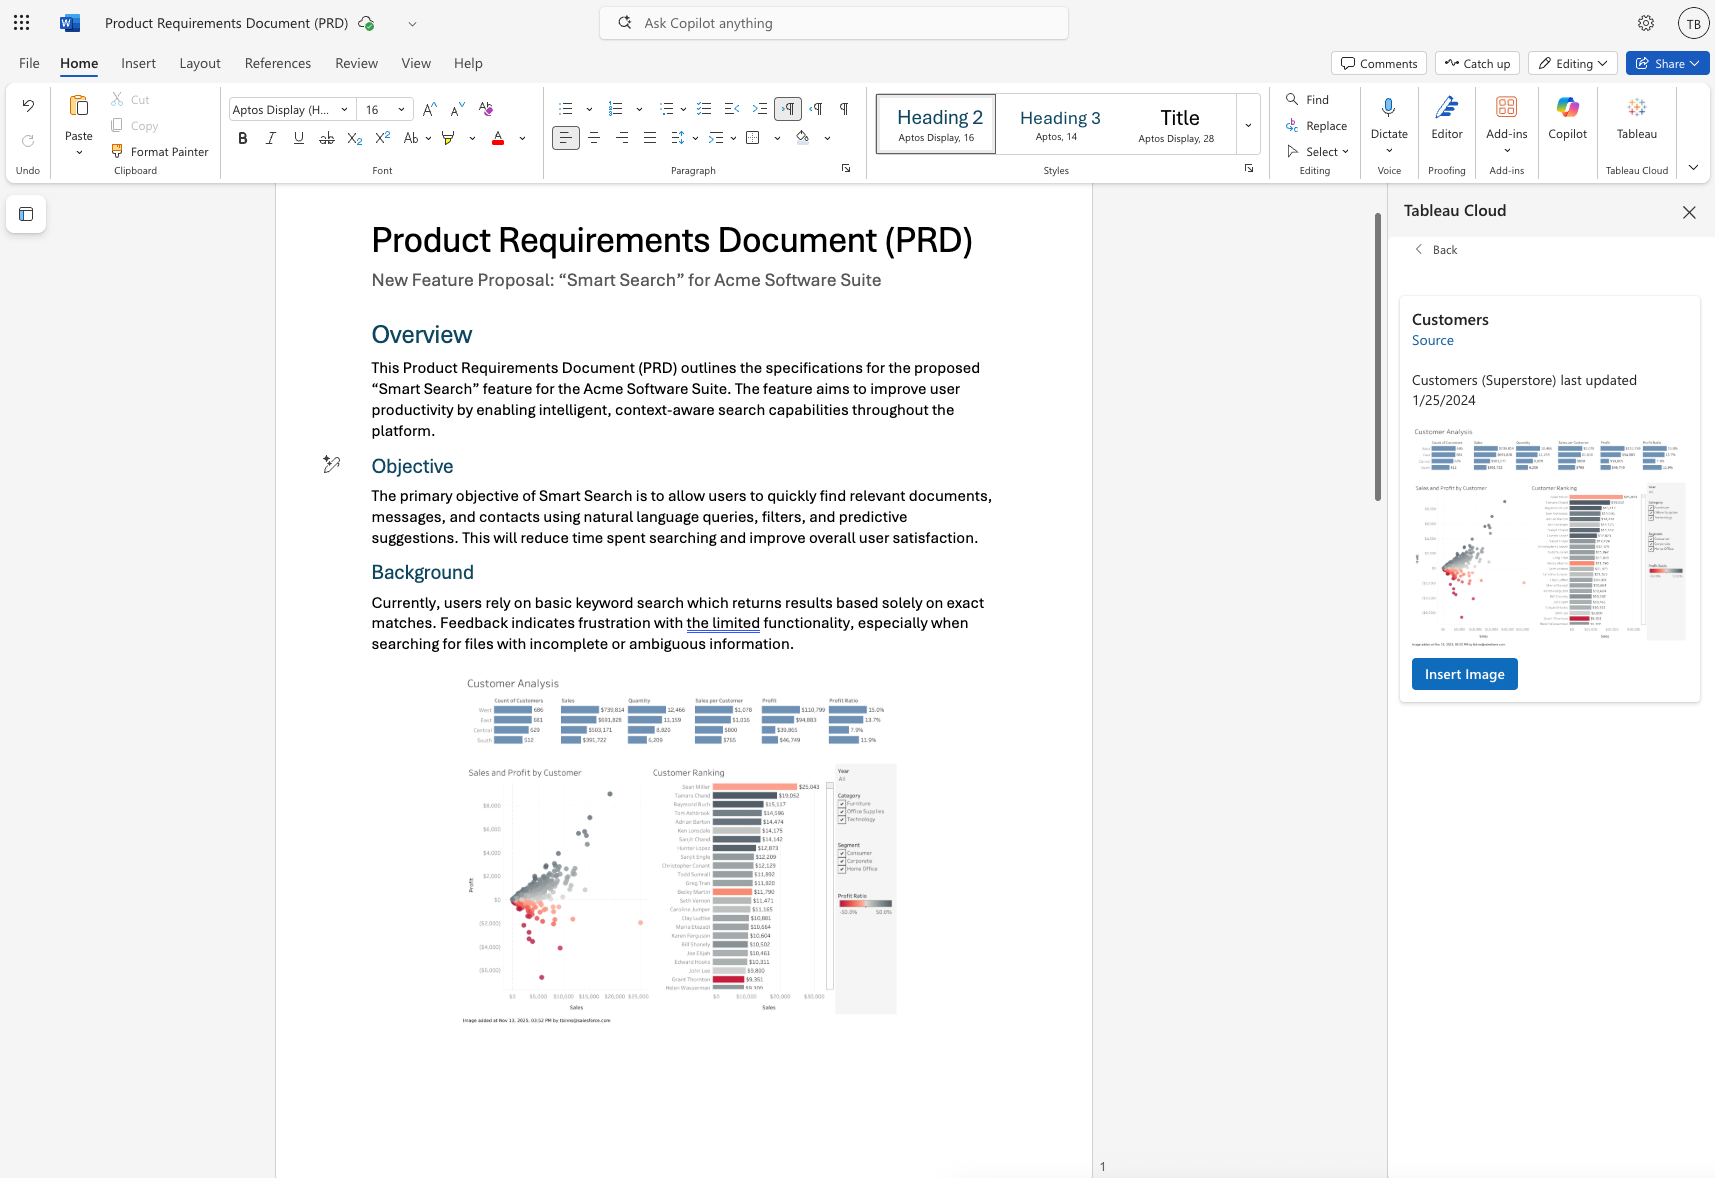
Click on a view card to select it. The Tableau app will generate an image of the selected view, and provide a button for inserting the view into the current slide.
When using the app within Word, the image will get inserted at your cursor’s current location.
Insert Pulse Image
Clicking the Insert Pulse Image button will allow you to search for Pulse metrics by typing keywords in the search box. The search will return matching metrics from your Tableau site, displaying them as cards with preview images and titles. If you have subscribed or followed any Pulse metrics, those will be listed just below the search bar.
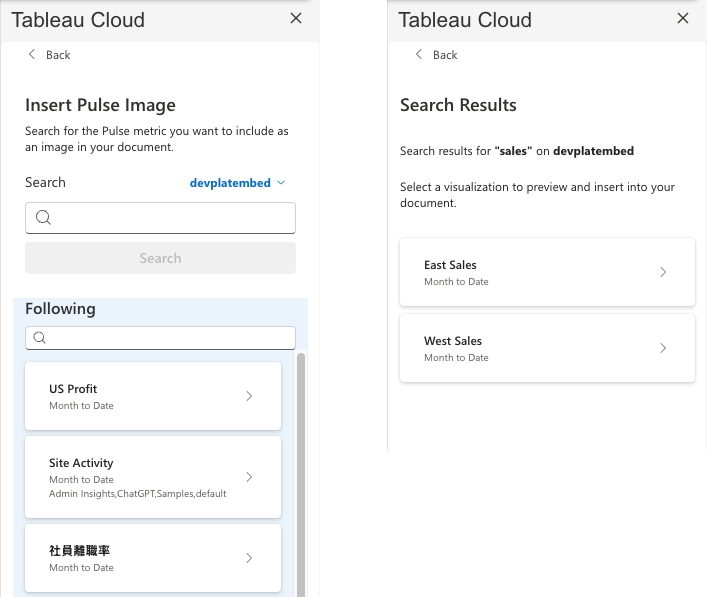
Once you’ve selected a metric, click the Insert button to add it to your slide. The Tableau metric’s trendline will be inserted as an image that you can resize, move, and format just like any other image in PowerPoint.
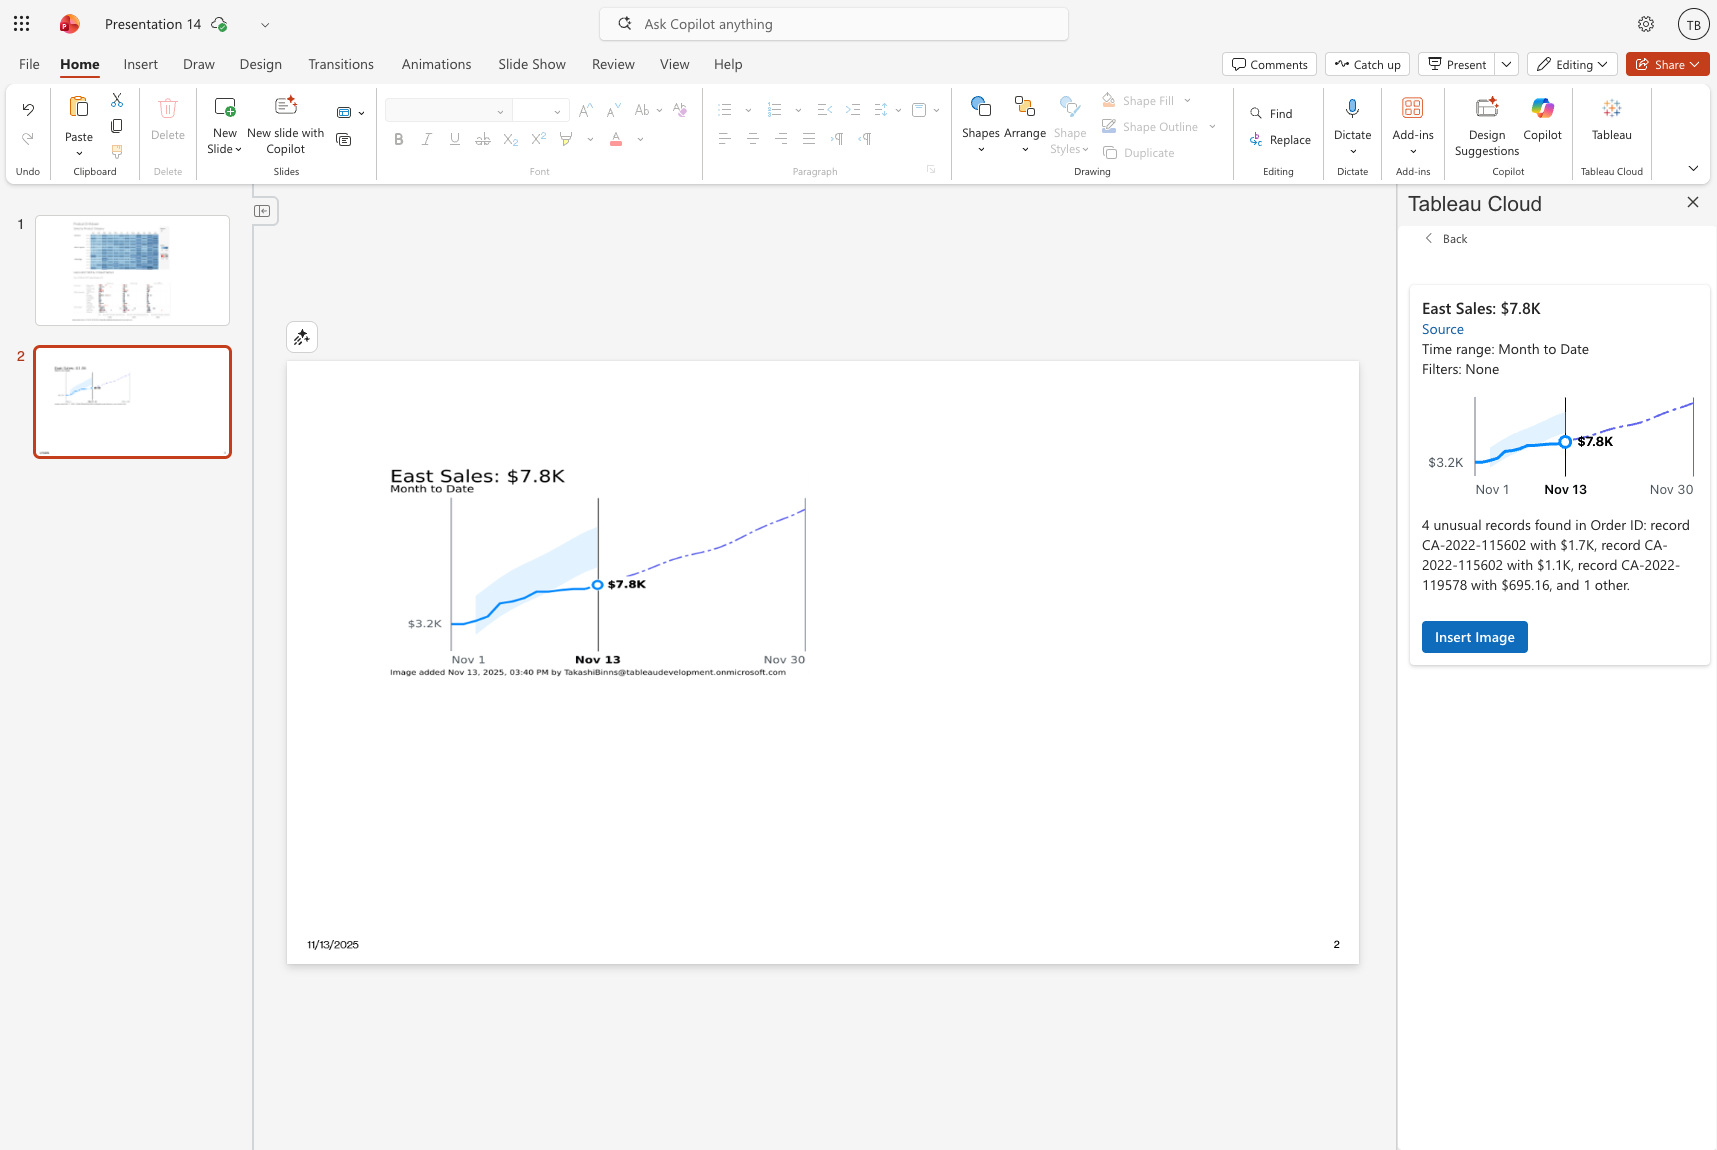
The embedded view is a static image snapshot of the Tableau dashboard at the time of insertion. You can resize it by dragging the corners, move it by clicking and dragging, and format it using PowerPoint’s image formatting options.
Insert Content from URL
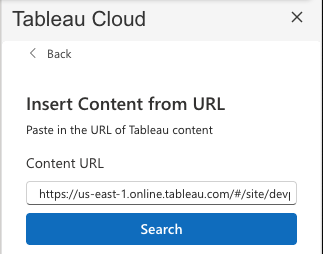
If you already know the URL of the content you want to insert, you can use the Insert Content from URL button to generate the preview image. This is useful when there’s a view or metric with a generic name, which could make it hard to find when searching by keyword. Additionally, you can use this option to insert a custom view into your presentation.
Refresh Data
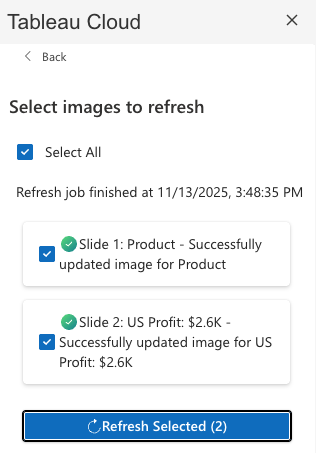
Once your Tableau content has been added to your presentation, it will likely need to be periodically updated to account for changes to the underlying data. Click the Refresh Data button to get a list of all images in the presentation that have been generated by Tableau. Each image is represented by a card with a checkbox. Check off the images you wish to refresh (you can also use the checkbox at the top to select/unselect all), and click the Refresh Selected button to start the refresh job.
The app will fetch new images from Tableau for each marked card, and display the status inline. It may take a few seconds after the job says complete, for the changes to appear in the presentation.
Settings
Click on the Settings button at the bottom of the task pane, to manage the app’s settings.
Personal Settings
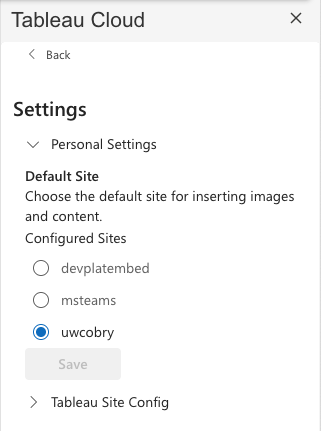
Select which Tableau site to use by default. This is helpful when you have multiple Tableau sites configured to work with Office. When the app first loads, the app needs to pick a site to login to first. This setting allows you to pick which site we choose by default.
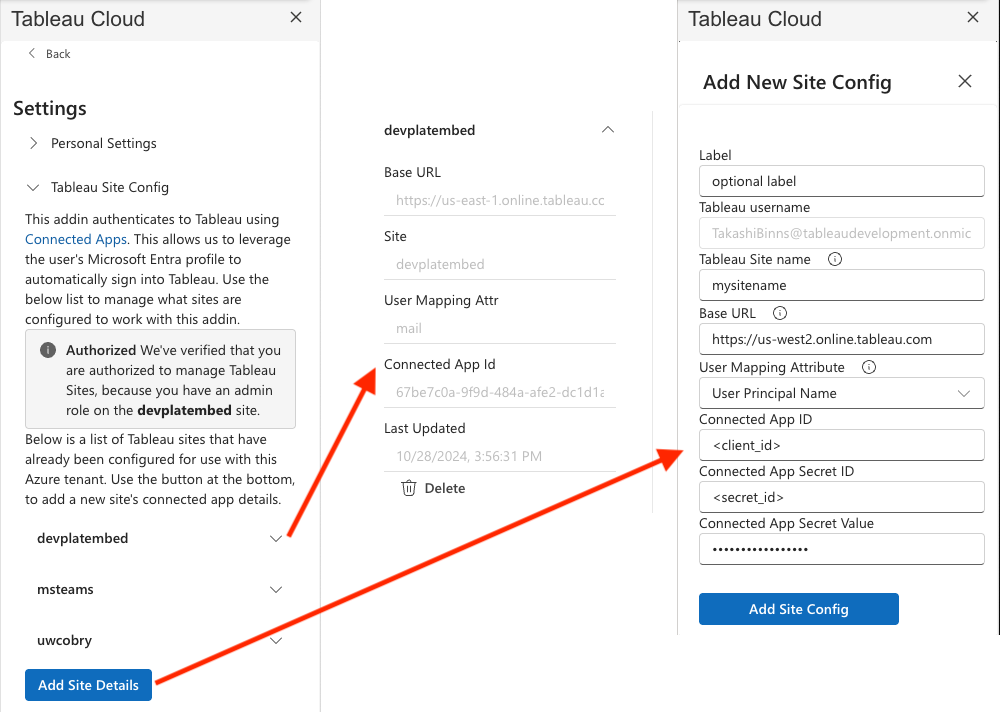
Tableau Site Config
Access to this page is restricted to users who have an Admin role in Tableau. It lists out each site configured to work with Office, and provides a way to view the details and delete site configs. You can also add new site configs here as well. See the Setup Guide for more details on how to do this.
Notes
- The embedded views are static images, so they won’t update automatically if the underlying Tableau dashboard changes. To update the view, you’ll need to use the Refresh Data button
- Wondering how the app knows which images came from Tableau? When we insert the images into PowerPoint and Word, we also include a custom tag. This includes some metadata about the image, so we know how to fetch updates for it in the future. When you copy and paste a tableau-generated image, Office retains that custom tag so it’s able to be refreshed. However, if you cut and paste the image, Office will remove the tag and the app won’t be able to track it going forward. Only use cut and paste when you want to isolate the image, so that the app cannot refresh it.
- When the tableau images are generated, we also include a note at the bottom of the image that displays a timestamp of when the image was generated as well as who inserted the image.
- The add-in requires that you have already configured your Tableau site connection. If you haven’t done this yet, you’ll be prompted to set up the connection when you first open the add-in. See the Setup Guide for more information.
- The same site configurations used in Microsoft Teams will work in Office, so if you’ve already set up the app in Teams, it will work in Word and PowerPoint as well.